Customer onboarding walkthrough video: record one in Chrome
A customer onboarding walkthrough video is one short tour of the first things a new customer has to do, so they do not have to ask you where to click. This post shows how to record one in Chrome with Cheap Recorder: three tasks, a short script, one marker per task and a way to send it that suits the customer.
The example is a made-up account manager, Dana, who sends every new customer a ten-minute tour of a reporting tool. Copy her routine for your own product.
Why a customer onboarding walkthrough video beats answering the same questions
New customers ask the same questions in their first week, and most of them are "where do I click?". A video answers that the same way every time. The customer can pause it, replay it and forward it to a colleague who joins later.
It also frees your live calls. You record the tour once, send it to every new account and spend the call on what is specific to that customer.
The trade-off is that a video is one-way. Say at the end how the customer can reach you, and keep the tour short enough that people finish it.
Choose three tasks and write one line per screen
Decide what the customer must be able to do after watching. For Dana it is three things: connect a data source, build a first report and invite a teammate. Anything else goes in a later video.
Then list the screens in order, one line each, for example "Settings, Data sources, Add source". That list is your outline, and later it becomes your markers.
Use a demo account with sample data. Real customer names, emails and numbers must not appear on screen, because anything you share ends up in the file. Check the tour once for tabs and notifications you would not want a customer to see.
Set up Chrome before you press Start
Open the recorder at cheaprecorder.com. When Chrome asks, allow the microphone and the camera. The recorder turns both on by itself.
- Where to save. Press Choose folder... and pick a folder with room to spare. Until you do, Start recording stays greyed out and the note beside it says choose a folder first. The recorder does not remember the folder between visits, so you choose it each time.
- Name this recording. Type something like
Onboarding 01 Reporting tour. The name is used for the file and its folder, so numbering keeps a series in order. - Microphone. Open Change or add microphones and tick the one you speak into. While you talk, its level bar should move.
- Live transcript. Under Options, pick the transcript language before you start. The menu goes back to its default each time the page opens.
Before the real take, record a short test and play it back. It catches a wrong microphone or a muted tab in a minute, not after ten. The post on a 30-second test recording before a talk shows the habit, and the guide on no sound in a screen recording lists the usual causes when you hear nothing.
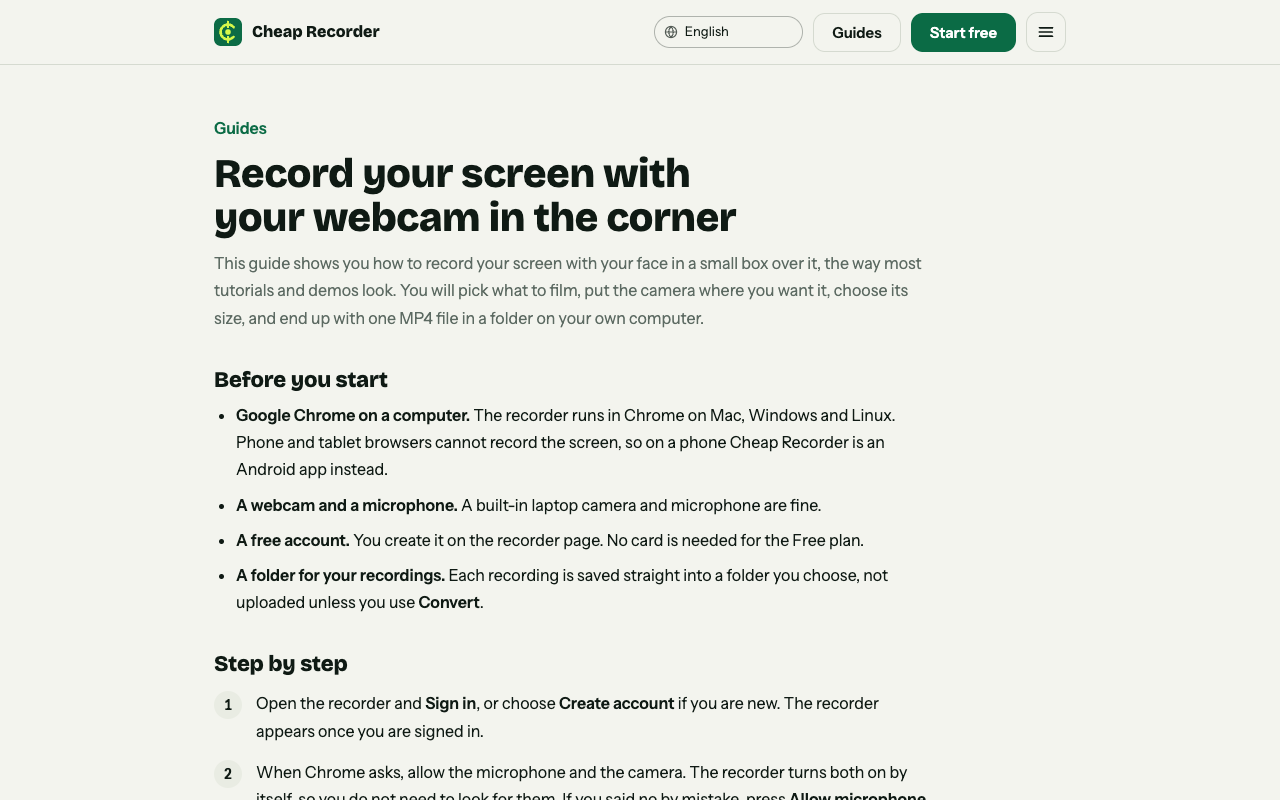
The screen and webcam guide on cheaprecorder.com covers the camera and its size.
Record the tour in one take
Here is Dana's sequence.
- Under What to capture, choose A browser tab or A window. Chrome opens its own sharing box. Pick the tab with your product and press Share. Sharing one tab or window keeps your other tabs and private things out of the file.
- Decide on your face. Leave Record my webcam on if you want the customer to see who they will work with, or switch it off for a screen-only tour.
- With the webcam on, open the Layout menu in the Preview heading. Picture in picture, bottom right, is the default. Drag the camera where it does not cover a button, and use the Size slider (12% to 50% of the picture's width) to make it small. The Preview is the recording, so what you see is what the file holds.
- Check the note beside Start recording, then press Start recording.
When you finish, press Stop and finish. Do not use Chrome's own Stop sharing bar, because that also ends the recording. The recording appears on the page with a player and is already saved in your folder.
Script each screen and mark each task
You do not need to read word for word. You do need the order and the first sentence of every part. Dana opens like this:
"Hi, I'm Dana. In the next ten minutes I'll show you how to connect your first data source, build a report and invite a teammate. Let's start in Settings."
Then, for each screen:
- Say where you are before you click: "I'm in Settings, under Data sources."
- Click slowly, and pause for a second after each page loads.
- Say what the customer should do, not only what you are doing: "You'll choose your database here."
- End each part with one sentence that points to the next: "Next, the report builder."
Press M or Add marker at the start of each task. A short note confirms the time. Markers are only added while recording, and not while you are typing in a text box. They are written to files only when Also save every source separately is ticked under Options; with the default single MP4 the notes show while recording but are not saved, so jot down any times you need.
Close with a recap and a next step: "You've connected a source, built a report and invited a teammate. If you get stuck, reply to this email and I'll book a call." If the tour starts with a few intro slides, the post on narrating a slide deck one slide at a time covers that part.
Send it the way the customer will open it
You now have an MP4 on your own computer. Pick the route that fits the customer.
- The MP4 alone. It is in the recording's folder. Attach it, or upload it wherever you already share files.
- With captions. If Live transcript was ticked, press Captions .srt on the card to download captions, or Transcript for the text. Download them while the recorder page is open, because the card lasts only while the page does.
- A publish page. On Creator and up, tick Also save every source separately before you record. The recording's Separate sources folder then holds publish.html: a player, one chapter per marker, the transcript with times and a list of files. It opens from the folder with nothing to host. Zip and send the whole recording folder, not only the page. It cannot be added afterwards. The client demo guide has the steps.
- Another format. After Stop and finish, Download MP3 is the shortest route to sound only, and More formats... lists the rest. Convert and Download MP3 send the file to the Cheap Recorder server, which deletes its copy when it finishes. The original in your folder is never changed.
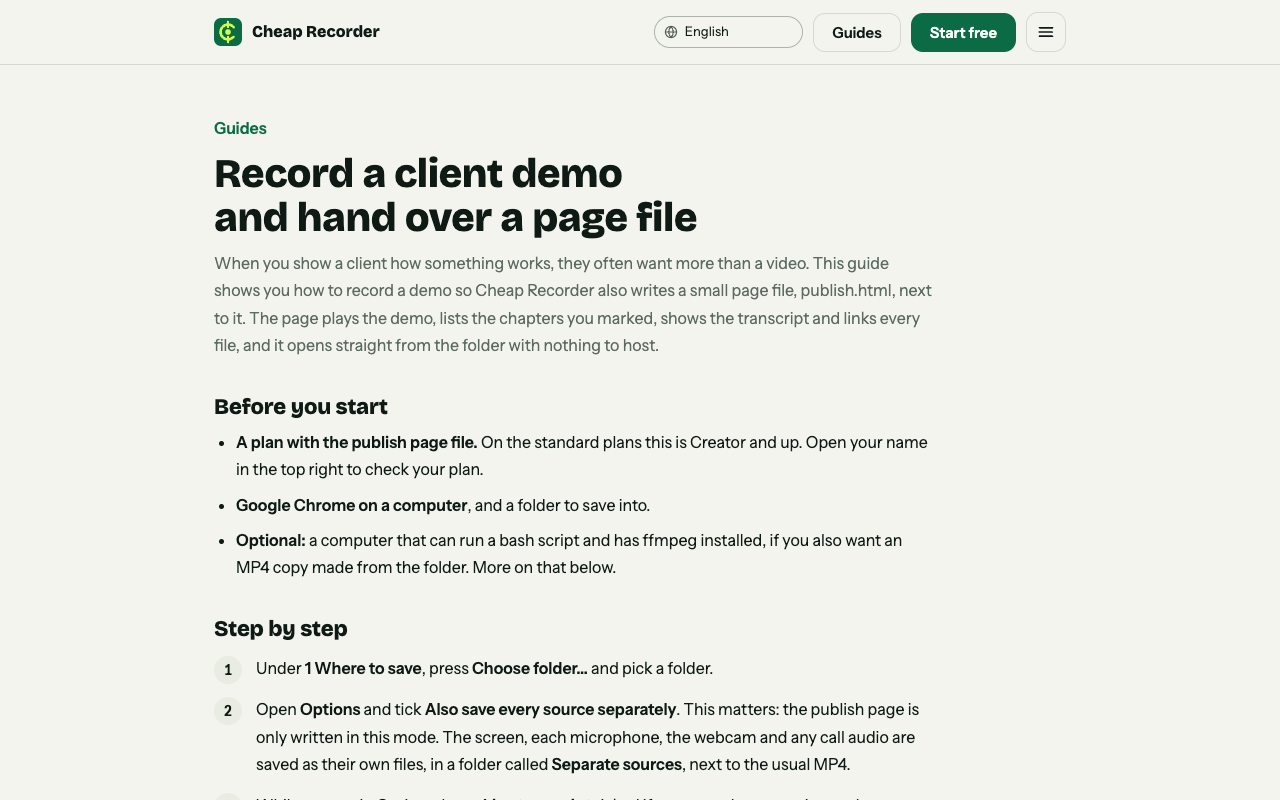
The client demo guide explains the publish page and the plan it needs.
Everything else stays on your own disk, because recordings are not uploaded unless you use Convert or Download MP3.
Mistakes that make an onboarding video worse
- Trying to cover everything. If the tour runs long, split it into numbered videos, one per task.
- Sharing the whole screen. Notifications and other tabs end up in the file. Share one tab or window.
- Skipping the test. A wrong microphone ruins a whole take.
- Real customer data on screen. Use a demo account.
- Ticking Also save every source separately too late. Saved markers and the publish page need it before you start.
- Forgetting the transcript language. The menu resets each time the page opens.
For a tour of your own product for a colleague, see the first day checklist video for a new hire; the steps are similar with a different audience.
Frequently asked questions
Do I need to install anything to record an onboarding video?
No. Cheap Recorder runs in Google Chrome on macOS, Windows and Linux, and saves an MP4 and a transcript on your own computer.
Can I record the tour without showing my face?
Yes. Switch off Record my webcam and pick a screen, window or tab. You get an MP4 with your voice and the screen.
Is the Free plan enough?
For recording, live transcript and captions, yes: it gives 12 hours of recording a month on 1 device and needs no card. The publish page needs Creator and up.
Where is my video saved?
In the folder you pick under Where to save, in a subfolder named with the date, the time and your recording name. It is not uploaded unless you use Convert or Download MP3.
How many tasks should one onboarding video cover?
Three is a good limit. Each task gets a marker, and a customer who only needs one can find it.
Get started
Write three tasks, one line per screen, run a short test and record the tour. The free plan needs no card, and your recordings stay on your own disk. Try Cheap Recorder in Chrome. Tell anyone who appears or speaks in the video that you are recording.
Comments
No comments yet.
Sign in or make an account to comment.