First-day checklist video: record one for a new hire
A first-day checklist video is a recording where you walk a new hire through their first day in the order it will happen, and say each item out loud while the screen shows it. You can make one in Chrome in about half an hour with a microphone and a folder on your own computer. This post shows how to sort the checklist by the clock, put one marker on each item, and send the video with a written copy beside it, using Cheap Recorder.
It is not a product tour; a product walkthrough for a new teammate covers that. This video answers one smaller question: what do I do first, and then next, today?
Why a first-day checklist video follows the clock
Most first-day lists are sorted by topic: accounts, tools, people, places. That reads well for the person who wrote it. For the person on the sofa on Sunday night, it hides the thing they want to know, which is when each step happens.
Sort by the clock instead. Say what to do before the first morning, what to do in the first hour, what waits until after lunch, and what can slip to tomorrow. A new hire who sees only four or five time slots feels that the day has edges. That is most of what a checklist is for.
Build the checklist in time slots first
Write the checklist as text before you open the recorder. Four slots are enough for most roles:
- Before you arrive: what to bring or have ready, and when and where to start.
- First hour: the accounts and logins they need before anything else works.
- Before lunch: the tools to open, where shared files live, who to ask for what.
- End of day: one small task, and who to tell when it is done.
Under each slot put two to four items, one line each. Keep private things out of it: passwords, pay details and anything personal. Anything on the shared screen ends up in the file, so use a test account where the real one shows other people's data.
Here is a made-up example, so you can see the size. Priya starts on a Monday as a support agent:
- Before you arrive: be at the front desk at 9:00; ask for Sam.
- First hour: sign in to email, then chat, then the ticket board.
- Before lunch: read the three pinned tickets; find the shared folder for macros; meet your buddy, Tomas.
- End of day: answer one practice ticket and post it in the team chat.
Set up Chrome for the recording
Cheap Recorder runs in Google Chrome on macOS, Windows and Linux, with nothing to install. The Free plan has recording, live transcript and captions, 12 hours of recording a month, 1 device and no card needed, and it is enough for everything below except the optional publish page.
- Under Where to save, press Choose folder.... Chrome asks whether the page may edit files in that folder; allow it. Until a folder is chosen, Start recording stays greyed out and the note beside it says to choose a folder first. The recorder does not remember the folder between visits.
- Type a name in Name this recording, such as
Day one checklist. The folder gets that name plus the date and time. If you make one per team, number them (Day one checklist 01) so they stay in order. - Under What to capture, pick Whole screen, A window or A browser tab. A checklist usually moves between several apps, so a whole screen is easiest. Close the tabs and apps you do not need and silence notifications first.
- Switch on Record my webcam if you want a face in the corner. The default is picture in picture, bottom right. Drag the camera where it hides nothing, and check the preview, because the preview is the recording.
- Open Change or add microphones and tick the one you speak into. While you record, its level bar moves with your voice. If it stays still, check the microphone's own mute switch.
- Open Options and tick Also save every source separately if you will send a publish page (Creator and up) or want your markers saved as a list. Leave Live transcript ticked, and check the language menu beside it, because it goes back to its default each time the page opens. While it is on, Chrome sends your microphone audio to Google to turn it into text.
Then record a 30-second test, play it back and check the sound and the screen. It is the quickest way to catch a wrong microphone or a muted tab.
Put one marker on each checklist item
This is the step that turns a long video into a checklist. Press M or Add marker at the start of each item, just before you say it. A short note on the page confirms the time. Markers are not added while you are typing in a text box.
There is one catch to say plainly. With the default single MP4, the marker notes show while you record but are not saved. Markers become files only when Also save every source separately is ticked: the recording's folder then holds a markers list and a chapters file. If you do not tick it, write the times down as you go, or put the time slot in your voice ("Item two, first hour") so the transcript carries it.
Record it in one pass
Press Start recording and speak through the slots in order. A few habits help a person who is nervous and new:
- Say the name of what you click. "Now I am opening the ticket board" helps anyone searching the transcript later.
- Say when each slot ends. "That is everything before lunch" gives them a place to stop and breathe.
When you finish, press Stop and finish. Do not use Chrome's own Stop sharing bar. The recorder writes to your folder about once a second as it goes, so the file is already there. If you slip, say so in a calm voice and carry on; in a normal one-file recording, word cuts made in the transcript change the transcript and captions, not the MP4, so a clean single take is the plan.
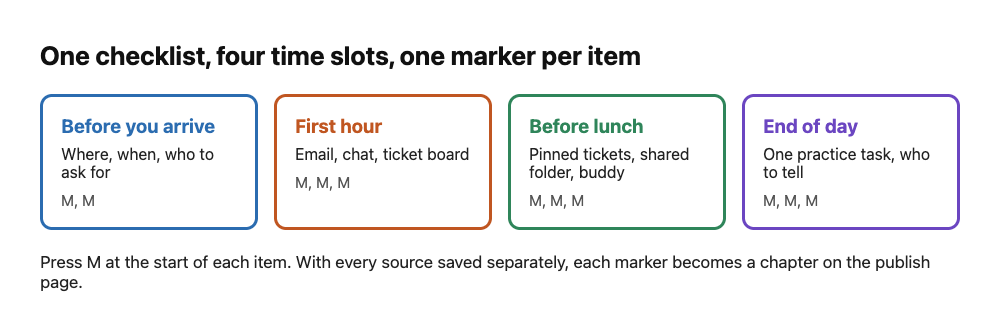
Four time slots, one marker for each item.
Send the video with a written copy beside it
A video alone makes the new hire scrub to find the item they need. Send the written checklist next to it, in the same order, so they can tick items off and jump to the video only when they are stuck. Three ways to send it:
- The MP4 and a text list. After Stop and finish the recording appears with a player, and Download MP4 is on the card. The card lasts only while the recorder page is open, so download what you need before you close the tab.
- The transcript. With Live transcript on, a plain text transcript with the time of each line sits in the folder. Caption files are not saved in the folder; press Captions .srt on the card to download one.
- A publish page. On Creator and up, with Also save every source separately ticked, the recording's Separate sources folder holds
publish.html. It shows a player, one chapter for each marker and the transcript with times. Each checklist item becomes a chapter they can click. It opens from the folder with nothing to host. Send the whole folder, zipped, not just the page. The box cannot be ticked afterwards.
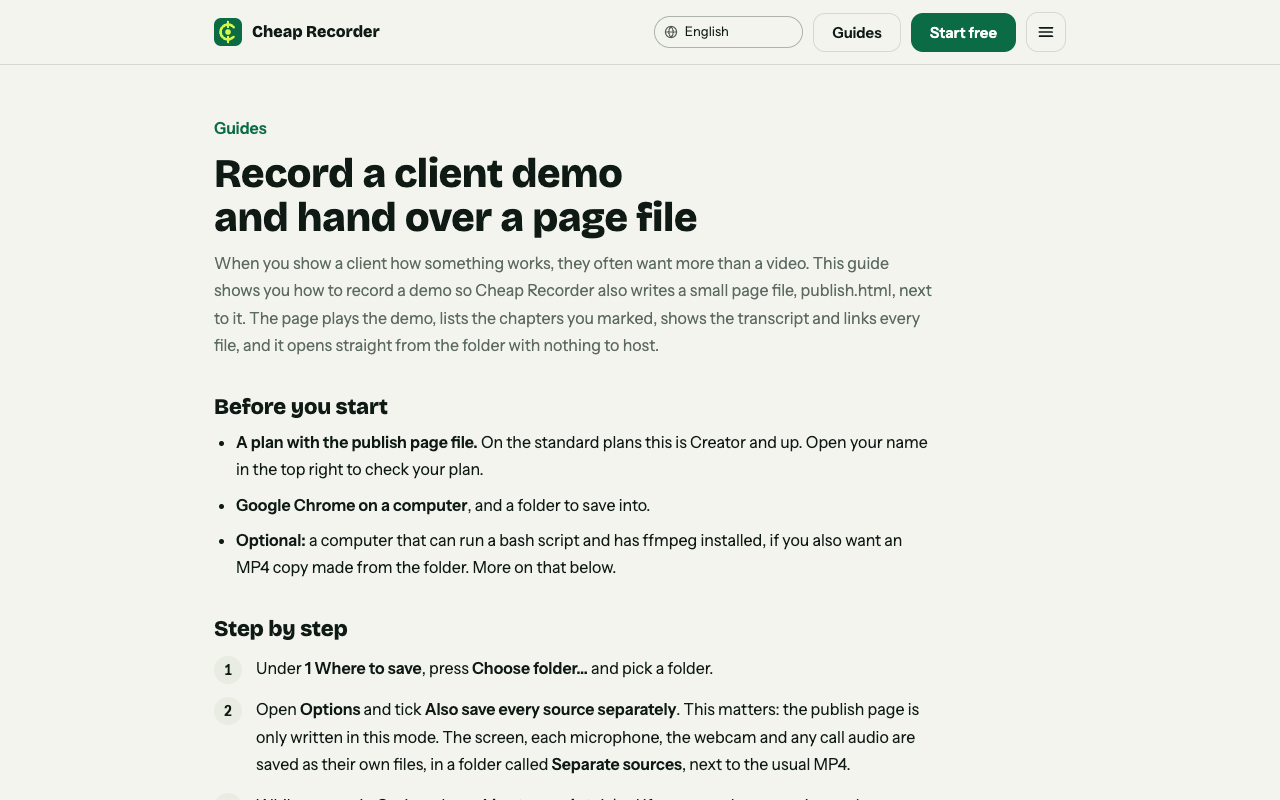
The guide that explains the publish page, step by step.
Send it before day one if you can, with the message "watch this on Sunday evening, it takes eight minutes". Watching the video is then the first thing they have already done.
Keep it up to date and fit it with other videos
A checklist goes stale faster than a tour, because it names people, tools and times. Ask each new hire at the end of day one what was wrong or missing, fix the written list at once and re-record only the slot that changed. Numbered names (Day one checklist 02) keep old versions in order, and sorting by name groups them. For naming rules in more depth, see name screen recordings so every take stays in order, and for the marker steps in detail, add chapter markers as you record.
The first-day checklist is the shortest video in the set. It says what and when. The product walkthrough teaches the work, in one short recording per job. If someone is leaving, a handover video recorded in Chrome passes on what they know. The same folder-and-name habits work for all of them. The guide to where recordings are saved lists exactly what lands in each folder, and the client demo and publish page guide covers the chapter page step by step.
Frequently asked questions
How long should a first-day checklist video be?
Aim for five to ten minutes. If one time slot needs more than five items, move it into a second video so each part stays short.
Do I need to install anything?
No. Cheap Recorder runs in Google Chrome on macOS, Windows and Linux. The Free plan has recording, live transcript and captions and needs no card.
Are my markers saved in a normal recording?
No. With the default single MP4 the marker notes show while you record but are not saved. Tick Also save every source separately before you start and the folder gets a markers list and a chapters file.
Can I fix a mistake after recording?
In a normal one-file recording, cuts made in the transcript change the transcript and captions, not the MP4. For a clean video, do a 30-second test first and re-record only the slot that went wrong.
Get started
Write your four time slots, record a 30-second test, then record the real thing with one marker for each item. Start free in Chrome; no card is needed and your recordings stay in a folder on your own computer.
Comments
No comments yet.
Sign in or make an account to comment.