How to explain your open source project in an article
A README tells someone how to run your project once they have decided to try it. An article tells them why it exists. This guide shows how to explain your open source project in one article: pick one reader, lead with the problem, give one demo they can copy, go one level down into how it works, compare it honestly, and end with small next steps. The running example is Hushlog, a made-up command line tool for this guide, which folds repeated lines out of a large log file.
Why explain your open source project in an article
A README is a reference. It answers "how do I install this?" and "which flags exist?" for someone who has already chosen to try your project. It rarely answers the question that comes first: "why should I spend ten minutes on this at all?"
An article has room for that answer. It can tell the problem you hit, what you tried first, and why you built something new. It can walk through one example from start to finish instead of listing every option. And it can be read by people who never open your repository, because they found it on a topic page or in a feed.
Think of the README as the manual in the box. The article is the reason someone opens the box.
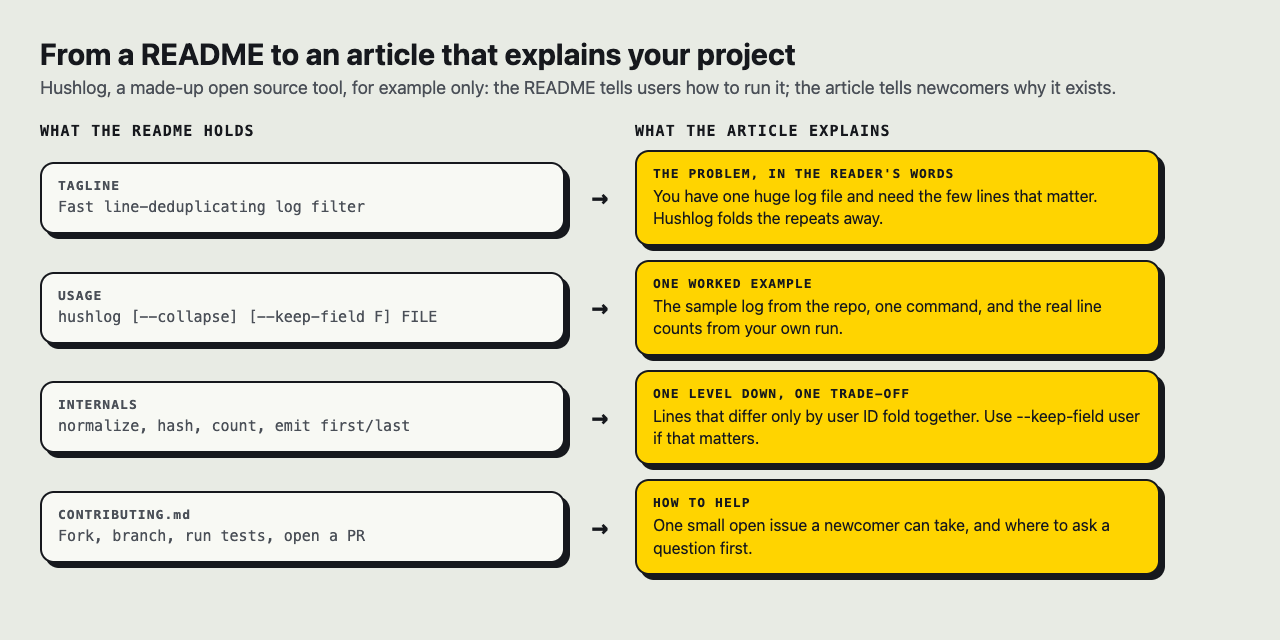
The README and the article answer different questions. Hushlog is made up for this example.
Know your reader before you write a word
Before you outline anything, write one sentence about the person you are writing for. For Hushlog it might be: "A backend developer who searches through very large log files during an outage and is tired of scrolling."
That sentence decides most of what follows:
- Words. This reader knows what
grepand standard output are, so you do not explain them. A product manager would need you to. - The example. Use a log file that looks like theirs, not a toy with three lines.
- The ending. A developer can send code. A designer might send docs or icons. Ask for what your reader can give.
If you have two very different readers, write two articles. One article that tries to serve a beginner and a maintainer at once tends to leave both of them looking elsewhere.
Lead with the problem, not the code
Open with the problem in concrete terms. Not "Log management is hard", but something like this:
When a service falls over, you have one huge log file and need the few lines that matter. Hushlog finds them in one command: it folds repeated lines together and keeps the first and last copy of each.
The answer arrives in the second sentence. Give the reader the payoff early, then earn it with detail. Electrified's own guides follow the same order, as its home page puts it: guides open with the answer, then work through an example.
A useful test: if you deleted everything after your first paragraph, would a reader still know what the project does and who it is for? If not, rewrite that paragraph before anything else.
Show it working: a demo readers can copy
This is the part people will use. Keep it short, numbered and runnable. Every command should work when pasted exactly as written.
For Hushlog, the demo section might read:
- Install it with the one command from your README, and say which release you wrote the demo against.
- Download the sample log from the repository's
examplesfolder. - Run
hushlog sample.log --collapse. - Count the lines with
wc -lbefore and after, so the reader sees the difference for themselves.
Then state the result in one sentence, with the real numbers from your own run: how many lines went in, how many came out, and where the line that explains the crash now sits. Never round up a number you did not measure.
Rules that keep a demo from breaking:
- Pin a version. Name the release the demo was written against, so a reader six months later knows why their output differs.
- Ship the sample data. Do not ask readers to find their own messy file. Give them yours.
- Run it on a clean machine just before you publish, so a step that only works on your laptop shows up before a reader finds it.
- Keep commands short. If a step needs a very long command, the tool may need a better default, and that is useful to know.
If you write on Electrified, the editor reads numbered lists, inline code and ## headings, so this layout carries over. Use the Preview tab to check each command looks the way the published page will show it. For more on building a walkthrough, see how to write a how-to guide with a worked example.
Explain how it works without drowning in internals
After the demo, curious readers want to know what is happening underneath. Give them one level down, not five.
A pattern that works is one paragraph, one picture in words, and one trade-off:
- The paragraph: "Hushlog reads the file once. For each line it strips timestamps and request IDs, hashes what is left, and counts how often each hash appears."
- The picture in words: "Raw line, then cleaned line, then hash, then a count table, then output with the first and last copy of each."
- The trade-off: "Because it cleans lines before hashing, two lines that differ only by user ID fold together. Use
--keep-field userif that matters to you."
Stop there, and link to the source file for anyone who wants the rest. The trade-off line matters most: it shows the reader you know where your tool falls short.
Compare it honestly to the alternatives
Readers will ask "why not just use something I already have?" Answer before they do.
- Say what the alternatives do well. "If you already send your logs to a search service, you do not need Hushlog. Keep using that."
- Say exactly where yours differs. "Hushlog is for the moment you have a raw file on a laptop and nothing else set up."
- Admit what is missing. "It does not read compressed files yet. There is an open issue for it if you want to help."
Leave out speed claims you cannot repeat in the article. If you say it is faster, show the command and the file you measured with, so a reader can run it and check.
Turn readers into users and contributors
End with clear next steps, from smallest effort to largest:
- Try it: the one install command again.
- Report what broke: a link to your issue tracker, with a note on which details help.
- Pick up a starter task: link to two or three issues marked for newcomers.
- Follow along: say where the next article will appear.
That last step is where a series helps. One article explains the project; a run of articles, one per release or one per hard problem you solved, builds knowledge around it. Your release notes can be part of that run. On Electrified each writer has a page at /@handle with a Follow button and a feed at /@handle/feed.xml, so a reader who liked the first article has a way to find the next. Give each post the same topics (up to 5) and they sit together on that topic's page, as on Promote your work.
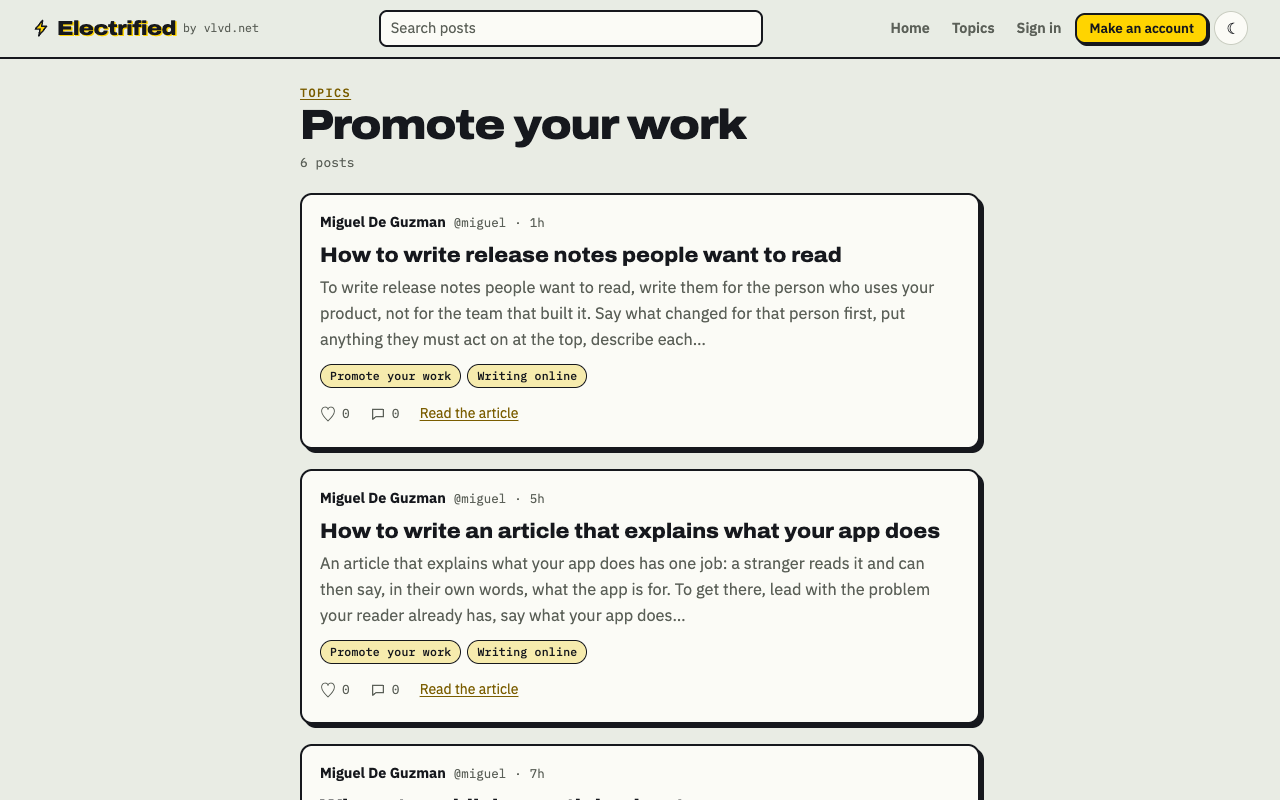
A topic page on Electrified gathers every post filed under that topic.
One honest note on links: links in posts open for readers, but most writers' links on Electrified carry rel="nofollow ugc". Link to your repository because it helps the reader, not for search credit.
Frequently asked questions
How long should an article about my open source project be?
Long enough to cover the problem, one working demo, one level of how it works and an honest comparison. If the internals need more room than that, give them their own article.
Should I write the article before or after the first release?
Publish after a release the demo can name, because an article whose install step fails cannot show anything. You can draft earlier and publish once the release is out.
Can I publish the article on Electrified if my project already has docs?
Yes. The article sits beside your docs rather than replacing them: it explains why the project exists and links to the docs for the details.
How do I explain a complex project to readers outside my field?
Say what changes in their day before you describe any mechanism, then use one comparison for the core idea. Leave the install steps out and link to them instead.
Get started
Here is a workflow that fits the steps above. Make an account (it asks for a name, a handle, an email and a password). In the editor, choose Article, give it a title of up to 140 characters, and start each section with ## and a heading: Problem, Demo, How it works, Alternatives, Get involved. Add your topics, for example open source, command line. Press Save draft: until you publish, only you can see it, so you can run the demo again on a clean machine and fix anything that broke.
If you draft with a writing assistant, Settings lets you make a personal token so the tool can save and edit your drafts. It cannot publish, so the last read and the Publish button stay with you.
Make an account on Electrified and explain your project on your own page, one article at a time.
Comments
No comments yet.
Sign in or make an account to comment.