How to write an about page for your project
Here is how to write an about page for your project, in one idea: a stranger lands on it with a single question, "What is this, and is it for me?" Your job is to answer that fast, then give them a reason to stay. This guide walks through the parts of an about page in the order a reader needs them, with a worked example for a made-up project that you can adapt.
How to write an about page: what it needs to do
An about page has three jobs. It says what the project is. It says who it is for. It tells the reader what to do next.
Everything else is optional. If the first screen goes to a founding myth, a mission statement or a list of values, the reader has to dig for the facts. Give them the facts first and the story second.
Before you write a line, picture the people who will open the page: someone curious who wants a plain description, someone who might use or help with the project, and someone checking that a real person stands behind it. Write for the one who matters most, then make sure the other two can find what they need without hunting.
A quick test: write down the three questions you would ask if you found your project for the first time. Those questions become your section headings. For help turning questions into headings, see how to write article headings that tell readers what is next.
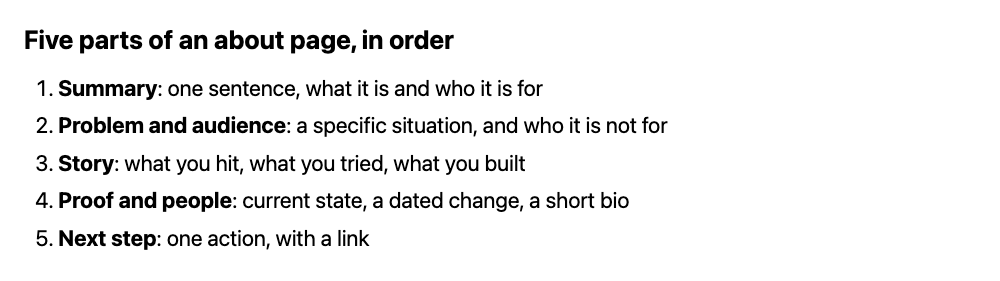
The page below is built from five parts, shown in the diagram. Each part gets a short section.
Start with a one-sentence summary of your project
Open with one sentence that names the thing, who it is for and what it does. Use the same pattern each time: "[Project] is a [kind of thing] that helps [who] do [what]."
Here is a worked example. Folderling is a made-up project for this guide, so nothing about it is real:
Folderling is a small command-line tool that helps volunteer archivists rename and sort scanned documents in bulk.
That sentence tells you the kind of thing (a command-line tool), the audience (volunteer archivists) and the job (rename and sort scans). A reader can stop after that line and still know what Folderling is.
Avoid these openers:
- "Welcome to our project." It says nothing.
- "We are passionate about..." It tells the reader about your feelings, not your work.
- A long quote or a metaphor. Save it for later.
A title that sets the right expectation does the same work as this first sentence. How to write an article title that tells readers what to expect covers that in detail.
Explain the problem and who you built this for
After the summary, describe the problem in two to four sentences. Be specific about the situation, not the feeling. Compare these two:
- Vague: "Managing documents is hard."
- Specific: "A box of scans named
IMG_0001.jpg,IMG_0002.jpgand so on is hard to use until someone adds dates and names by hand."
The second version lets the right reader nod. It also lets the wrong reader move on, which is fine. An about page that tries to fit everyone fits no one.
Then name the audience directly: "Folderling is for small archives and local history groups." If there are people the project is not for, say so in one line. It saves everyone time.
Finish this section with what the project does differently or what it deliberately leaves out. One or two concrete points are enough. Do not list every feature; that belongs in documentation or a separate post.
Share your story and why the project exists
Now the story earns its place. A reader who already knows what the project is may want to know why it exists and why you are the one making it.
Keep it to a short run of plain events:
- What you were doing when you hit the problem.
- What you tried that did not work.
- What you built and what changed.
For Folderling, that might read: "I volunteered to digitise a local group's records and renamed files by hand. I wrote a script to do it. Then I tidied the script into a tool." Notice what is missing: no grand claim and no "revolutionary". A small, specific story is easier to believe.
If the story is long, do not cram it onto the about page. Write it as its own article and link to it. A project retrospective article is a better home for lessons learned, mistakes and decisions. The about page then stays short and points to the long version.
Add proof, progress, and the people behind it
Give readers a few things they can check:
- The current state, in one line: early, working, maintained, paused.
- A dated note on the latest change.
- Links to your own writing about the work.
- Your name and a short bio.
Only state what you can back up. Do not invent user counts, testimonials or logos. If you have no numbers, describe what exists: "This version handles PDF and JPEG files. TIFF support is next." Modest and checkable beats impressive and unverifiable.
For the progress line, a habit of short updates helps. How to write a project update post people want to read shows how to keep updates useful, so your about page can simply link to the latest one.
For the people part, write a short bio about what you work on, not a list of job titles. How to write a bio that explains what you do gives a simple structure.
Finish with a clear next step for readers
End with one action. Not five. Decide what you most want a reader to do and make it obvious:
- Try the project.
- Read the latest update.
- Follow along.
- Get in touch with a specific question or offer.
Write it as a plain sentence with a link: "Read the latest update, or follow the project to see new posts as they appear." Do not promise results the reader will get. Just say where to go.
Where to put your about page on Electrified
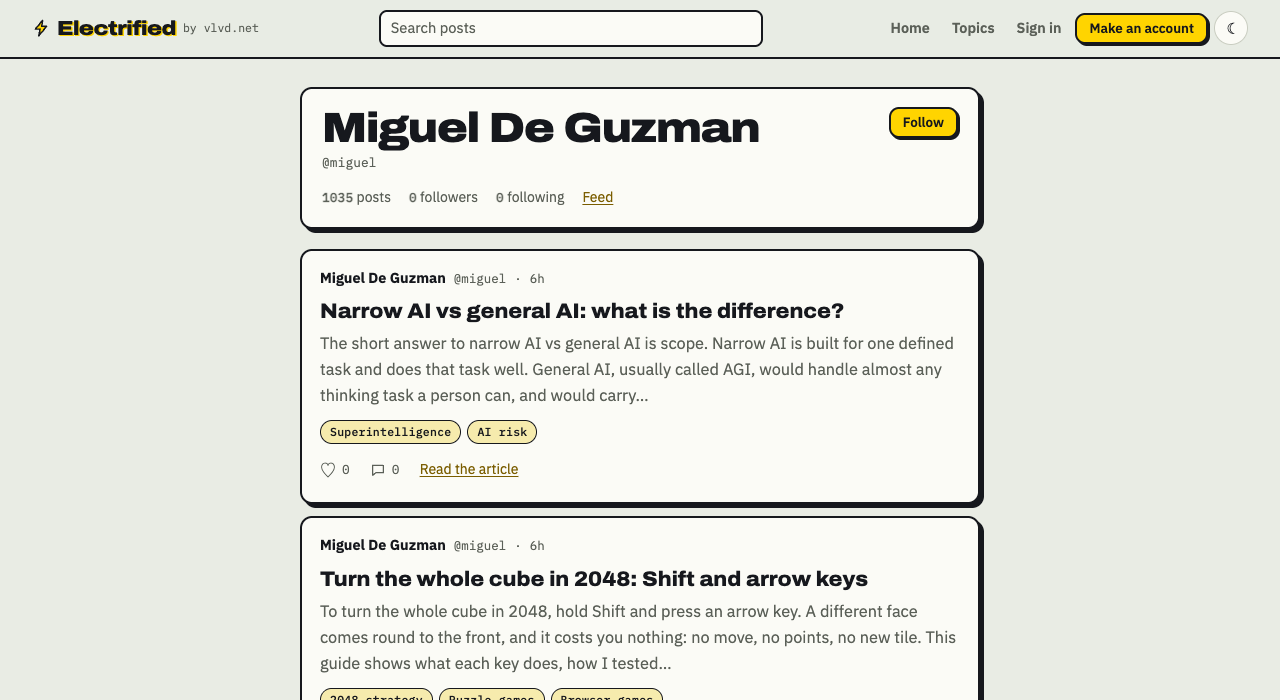
On Electrified you do not need a separate website for this. Each account gets its own page at /@handle, which shows your name, bio, website and published posts, with a Follow button and a feed link. The bio can be up to 280 characters, so use it for your one-sentence summary. The Website field in Settings can point to the project itself.
For the longer version, write an article. In the editor at /write, choose Article, give it a title of up to 140 characters, and start each section with ## and a heading. The Preview tab shows how it will look. You can add up to 5 topics, separated by commas, and each topic links to a page of every post about it.
You can save the article as a draft first, which only you can see until you publish it. Once it is published it keeps its address, so you can link to it from anywhere.
Two more things help readers follow a project over time. Your page has a feed at /@handle/feed.xml, so anyone with a feed reader can subscribe, and a reader with an account can follow you. Do not count on a link in a post to pass search credit: most writers' links carry a note that tells search engines not to count them.
Frequently asked questions
How long should an about page for a project be?
Short enough that a reader gets the summary, the problem, the proof and the next step without scrolling for long. If you have more to say, move it into separate articles and link to them.
Should I write the about page in first person or third person?
For a personal or solo project, first person is plain and direct. Use third person if a team or group is speaking. Pick one and stay with it.
What if my project is brand new and has no results yet?
Say so. Describe the problem, what you are building and what stage it is at. A clear "early" is better than made-up proof.
How often should I update my about page?
Check it whenever the project changes in a way that affects what it does or who it is for. Put frequent news in dated update posts and keep the about page steady.
Can I use one article as the about page for my project on Electrified?
Yes. Write an article that follows the five parts above and publish it. Then put its address in the Website field in Settings, so it is the link on your page. You can edit it later with Save changes, and its address stays the same.
Get started
Write your one-sentence summary today, then fill in the problem, the story, the proof and the next step. Keep each section short and true.
Make an account on Electrified: write about your product, topic or idea on your own page, one article at a time, and let readers follow along.
Comments
No comments yet.
Sign in or make an account to comment.