Weekly team update video: record it in Chrome
A weekly team update video should take you ten minutes, not an hour. You record your screen in Chrome once, and your team watches when it suits them. This post walks through the whole routine with Cheap Recorder, from picking a folder to sharing the file.
Why a weekly team update video beats another meeting
A live status meeting asks everyone to be free at the same time. A recording does not. People watch at their desk, pause to check a link, and skip what does not concern them.
A recording also leaves something behind. With the live transcript on, you get a plain-text file of what you said, with the time of each line. Someone who missed the update can search it instead of asking you again.
If you already answer questions with short videos, this is the same habit applied weekly. Our post on answering a support ticket with a short screen recording covers the one-off version.
What you need before you record in Chrome
Keep the list short.
- Google Chrome on macOS, Windows or Linux. Cheap Recorder only runs in Chrome.
- A free account. The Free plan includes recording, live transcript and captions, and 12 hours of recording a month on 1 device, with no card needed. A weekly update of five minutes uses a tiny part of that. If you are unsure what you need, see how many hours of screen recording a month you need.
- An internet connection. There is no offline mode: a new recording waits for the server, so you need the connection to start.
- A microphone. A headset or desk microphone close to your mouth gives a better transcript than a laptop microphone in a noisy room.
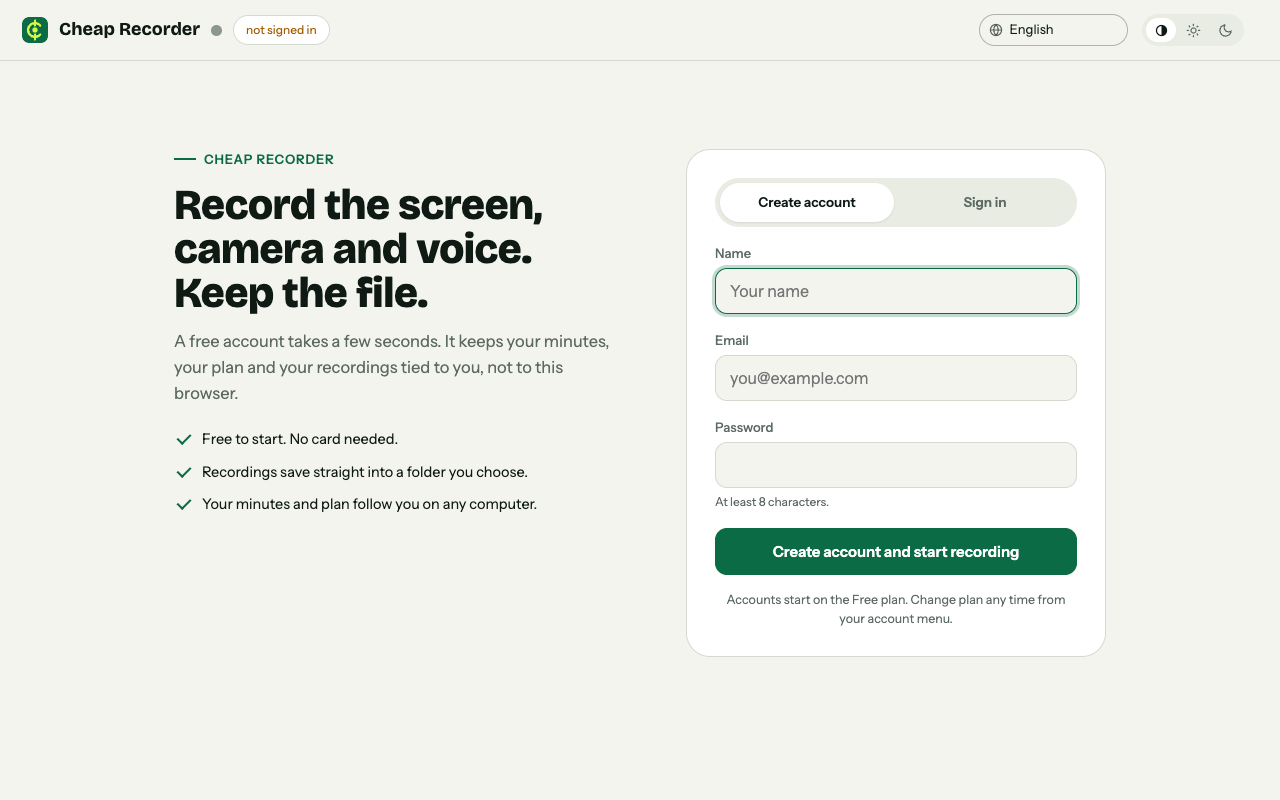
Create a free account first: the page says free to start, no card needed.
Plan a 3 to 5 minute update your team will actually watch
Write three headings before you press anything. A simple set:
- What shipped or changed this week.
- What is blocked, and who can unblock it.
- What is next week's focus.
Open only what you will show. Close other tabs and apps and silence notifications, because anything on the shared screen ends up in the file. Sharing one window or one browser tab instead of the whole screen keeps everything else out.
Do a read-through once, out loud, with a timer. If it runs past five minutes, cut a heading's detail and link to it in the message instead.
How to record a weekly team update video in Chrome
- Open the recorder at cheaprecorder.com/app and sign in. Allow the microphone and camera when Chrome asks.
- Choose a folder. Under Where to save, press
Choose folder.... Chrome asks whether the page may edit files in that folder. Allow it. The recorder does not remember the folder between visits, so you pick it each week. - Name the recording. In Name this recording, type something like
Team update 2026-10-16. The name is used for the file and its folder, and the folder also gets the date and time. A numbered or dated name keeps weeks in order. - Pick what to capture. Under What to capture choose Whole screen, A window or A browser tab. Chrome opens its own sharing box. Pick one and press Share.
- Check the language. Live transcript is ticked by default under Options. The language menu goes back to its default every time the page opens, so check it before you start.
- Press Start recording. If it is greyed out, read the note beside it. It names one reason at a time, such as choose a folder first. Fix that and read the note again, because the next reason may appear.
- Talk through your three headings. Press
Mor Add marker at the start of each new section. A short note confirms the time. - Press Stop and finish. Do not use Chrome's own Stop sharing bar. That also ends the recording, but Stop and finish is the clean way.
The recording then shows on the page with a player, and it is already saved in your folder as an MP4 with H.264 video and AAC sound.
One warning about markers. With the default single MP4, the marker notes show while you record but are not saved. If you want chapters, tick Also save every source separately before you start, and see the next sections.
Add your webcam and audio so the update feels personal
A face makes a status update feel like a conversation. Switch on Record my webcam. The preview is the recording, so what you see is what the file holds.
In the Layout menu in the Preview heading you have Picture in picture, bottom right (the default), Side by side, Screen only and Camera only. In picture in picture, drag the camera where it will not cover your content. The arrow keys nudge it, and the Size slider runs from 12% to 50% of the picture's width. The recorder remembers the position and size for next time, which suits a weekly routine. For more on layouts, read the screen and webcam guide.
Under Background in the Webcam box, None and Blur are on every plan. Set it before you press Start recording, because the file keeps the background that was on at that moment.
For sound, open Change or add microphones, tick the microphone you speak into, and watch its level bar move while you talk. If you also need to show a video with sound, remember that Chrome only hands over a tab's sound when you share a browser tab and tick the tab-audio option. If the file comes out silent, the no sound guide walks through the causes.
Before your first real one, record a 30-second test and play it back. It catches a wrong microphone or a muted tab.
Tips for a consistent weekly routine
- Record at the same time each week. Friday morning works for many teams. Pick one slot and keep it.
- Keep the name pattern. If you type the same name each time, sort by date in your folder to see weeks in order.
- Tick Also save every source separately if you want chapters. Each recording's Separate sources folder then holds a markers list and a chapters file. Separate files take more room, so pick a folder with free space.
- Cut the ums. On plans that include cutting words from the transcript, Remove filler words marks words like um and you know. Watch the result before you share it, because word timings are estimates. The filler words guide explains what saving changes.
- Rename the speaker. Type your real name in the Speaker box, press Save captions, and each transcript line starts with it.
A recording of a slide deck works the same way. See recording Google Slides with your webcam in Chrome if your update is mostly slides.
Share the recording and collect replies
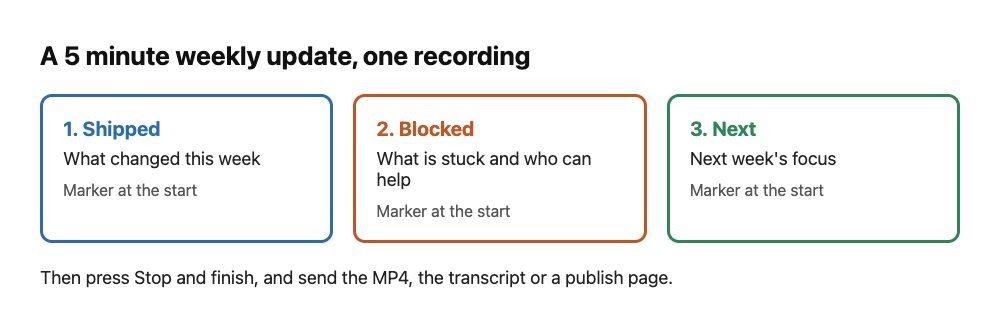
One recording, three headings, a marker at each one.
Your files are on your own computer, so sharing is up to you. You have three simple routes.
- Send the MP4. It plays almost anywhere. Attach it or put it in your team's shared drive.
- Send the transcript. The file named after your recording, ending in
- transcript.txt, is plain text with times and speaker names. Paste it into the message so people can skim. - Send a publish page. On Creator and up, tick Also save every source separately before recording. The Separate sources folder then holds
publish.html, with the title, a player, one chapter per marker, and the transcript. It opens from the folder with nothing to host. Zip and send the whole recording folder, not just the page. You cannot add it afterwards if the option was not ticked. The publish page guide has the details.
If you want captions for a video platform, press Captions .srt on the card. It is made in the page and not written to the folder, so download it while the recorder page is open. For collecting replies, ask for them in the same thread as the update, and end the recording with one clear question.
Two cautions. The card, with its download and Convert buttons, lasts only while the recorder page is open, so grab what you need before you close the tab. And if anyone else appears in your recording, tell them. Recording people may need their agreement depending on where you are.
Frequently asked questions
Can I record a weekly team update on the Free plan?
Yes. The Free plan includes recording, live transcript and captions, and 12 hours of recording a month on 1 device, with no card needed.
Where does my recording go?
It is written every second to the folder you choose on your own computer, in a folder named with your recording name, the date and the time. Cheap Recorder keeps no copy, except while a file is being converted.
Can I record just my window instead of my whole screen?
Yes. Under What to capture, choose A window or A browser tab. This keeps other tabs and apps out of the recording.
Does the transcript leave my computer?
While the live transcript is on, Chrome sends your microphone audio to Google to turn it into text. If a recording must not leave your computer in any form, untick Live transcript before you press Start recording.
Does the recording stop if my connection drops?
No. It keeps writing to your folder. You need the connection back before you can start a new one.
Get started
Do the 30-second test today, then record your first update this week. If you are comparing tools first, see our comparison of Cheap Recorder with Loom, Camtasia, Descript and Riverside.
The free plan needs no card. Try Cheap Recorder in Chrome, and your recordings stay on your own disk.
Comments
No comments yet.
Sign in or make an account to comment.